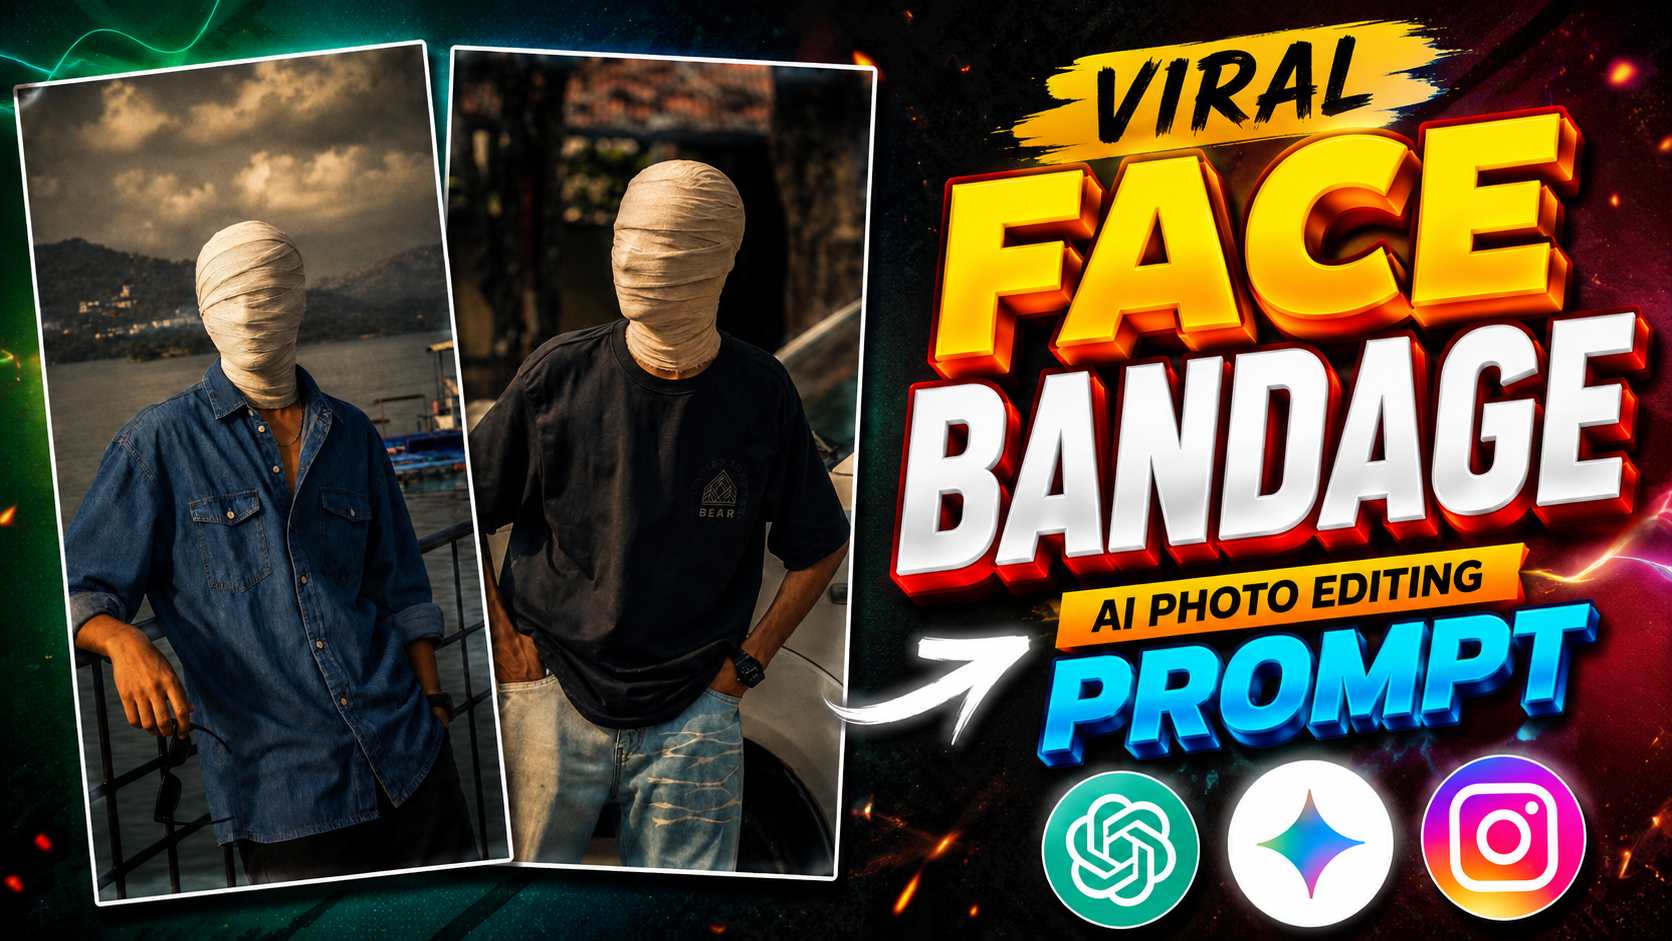
Face Bandage Prompt – AI photo editing is rapidly gaining popularity on social media, with people transforming ordinary photos into creative and cinematic styles and sharing them on Instagram, Facebook, and other platforms. Face Bandage AI Photo Editing is a particularly interesting style among these trending AI edits. This editing transforms a normal photo into a dramatic look, depicting a bandage or white cloth wrapped around the face, giving the entire photo a dark, cinematic, and stylish atmosphere. With the right lighting, background, and camera details, this effect can be quite realistic and eye-catching. Creating such a Face Bandage AI photo doesn’t require hours of effort in professional photo editing software. You can upload a clear photo of yourself to AI tools like ChatGPT or Gemini and create this creative look using a suitable AI photo editing prompt. By correctly describing details like face, hairstyle, clothing, pose, background, lighting, and bandage effect in the prompt, the AI can create a new cinematic result based on your reference photo. In this article, we will give you complete information about Face Bandage AI Photo Editing and will tell you how to prepare your photo in this unique style.
What is Face Bandage AI Photo?
Face Bandage AI Photo is a creative portrait style in which AI uses your original photo to create a new appearance with a bandage or wrapped-cloth effect on your face. In this type of image, a large portion of the face appears covered, giving the portrait a mysterious and dramatic character. Using visual details like a dark background, cinematic shadows, and controlled lighting makes the final image appear more powerful.
The uniqueness of this trend is that the goal isn’t just to add a bandage effect. The entire composition is designed to make the subject appear to be part of a professional cinematic photoshoot. Variations can be created by changing the outfit, pose, camera framing, background, and lighting according to the prompt. This allows for a variety of creative photos to be created from a single basic concept. Creating such a portrait with AI using your normal photo as a reference is especially easy for those who don’t have much knowledge of Photoshop or other advanced editing software. With the right instructions, AI can generate multiple visual elements simultaneously.
How to create a photo with ChatGPT or Gemini?
To create this AI photo, first prepare a clear, high-quality original photo of yourself. It’s best to choose an image that clearly shows your face and upper body. Using a natural-looking reference instead of a highly blurred, low-resolution, or heavily filtered photo will likely yield better results.
Upload your reference photo to ChatGPT or Google Gemini. After uploading the photo, paste the Face Bandage AI Photo Editing Prompt below into the same conversation and ask it to generate an image. The prompt will help the AI understand what kind of portrait to create from the reference photo and how to maintain the bandage effect and other visual details. After the image is created, it’s important to carefully examine the result. If details like face wrapping, body proportions, hands, clothing, background, and lighting appear natural, the image can be used as a final image. If a particular detail isn’t accurate, you can reference the generated image and ask the AI to improve that specific area.
Face Bandage AI Prompt
The most important role in creating such an image is played by the correct AI prompt. The reference photo only provides visual information about the subject, while the prompt tells the AI what environment the person should be shown in, what type of bandage effect is desired on the face, and what the overall mood of the final portrait should be. Therefore, it is important to keep the visual instructions in the prompt clear. The prompt below can be used with this Face Bandage style in mind. After uploading your original photo, paste it into ChatGPT or Gemini and check the generated result.
Face Bandage Photo Prompt

After applying the prompt, if a small detail in the result doesn’t turn out to your liking, it may be more convenient to reference that result and make corrections instead of recreating the entire image. This way, bandage placement, lighting, background, or any other visual detail can be changed as needed.
Customize the Photo
After generating an image with AI, you can further customize this concept to your liking. For example, you can instruct the AI to change the background to a dark urban, studio, or other cinematic environment. Similarly, small changes can be made to the outfit, glasses, lighting intensity, camera framing, and overall color tone. If you want a more mysterious appearance, you can opt for darker shadows and low-key lighting. For a more clean and premium portrait, a simple background and controlled cinematic lighting may be preferable. The wrapping of the bandage effect can also be made subtle or more prominent, depending on your preference. However, when customizing, it’s best not to unnecessarily alter the instructions that preserve the reference photo’s natural identity and proportions. Improving the result with small changes is a more practical approach, as this allows you to maintain control over the final image.
Conclusion
Face Bandage AI Photo Editing is one of those creative AI photo styles that can transform an ordinary portrait into a completely different visual concept. By using your original photo as a reference and applying the correct prompt in ChatGPT or Gemini, you can create a cinematic and mysterious portrait with a bandage-covered face.Both a good reference photo and the right instructions are crucial. If the first generation result isn’t perfect, you can make small corrections to improve the image to your liking. Different versions of this concept can also be created by changing the background, lighting, and styling. If you like trying new and unusual AI photo editing ideas for Instagram, this Face Bandage concept is definitely worth a try. Easily explore this creative style with your photos by following the steps above.